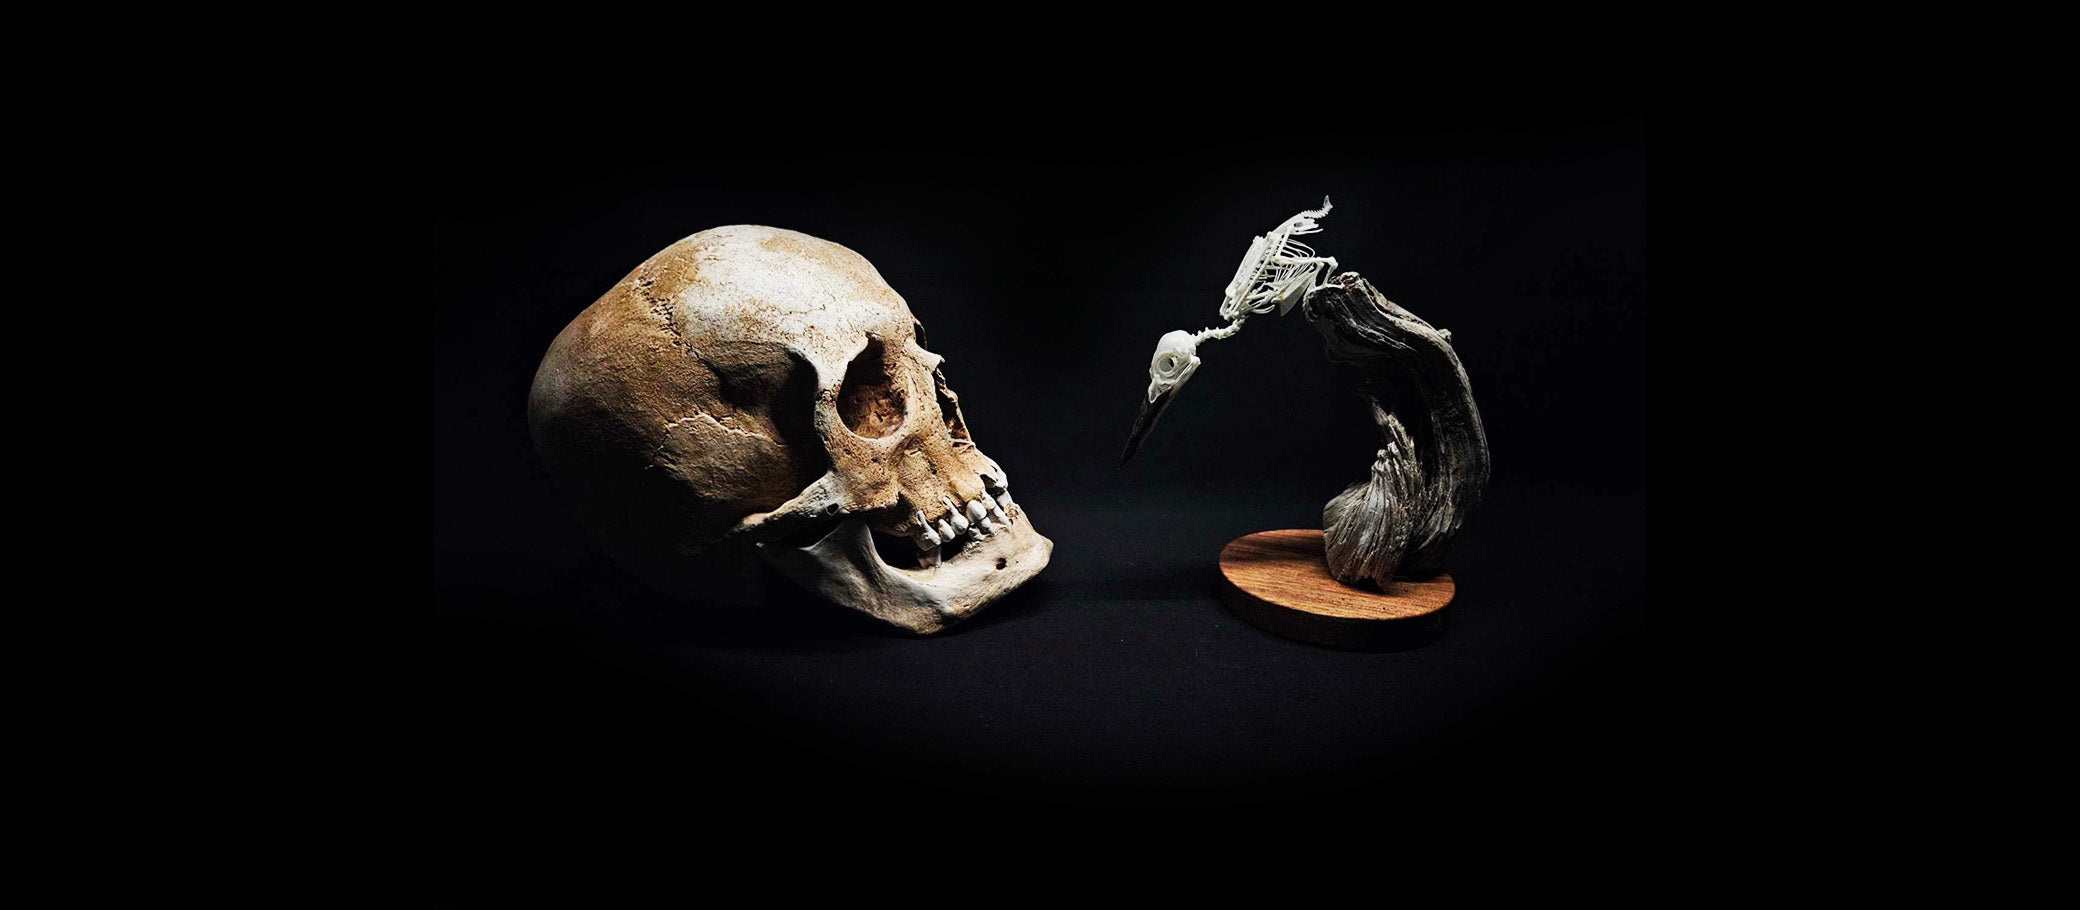

Bird Skull Cleaning Guide
A step-by-step guide on cleaning a bird skull.
Bird Skull Cleaning Guide
This is a guide to cleaning a skull with cold water maceration. It's by no means the only way to clean a bird skull, but for me it's the easiest and most efficient way to get good results every time. For the purposes of this guide I will be cleaning a Pied Butcherbird that was found as roadkill. If you are in Australia, keep in mind that depending on which state you're in, you may need a license to collect native specimens.

What you'll need:
- A sharp scalpel
- Rubber gloves
- Small tweezers (recommended for fishing bones and bits out of ammonia and peroxide so you don't have to use your fingers)
- A couple of small plastic containers or jars
- Cloudy ammonia
- Super glue
- OR white craft glue
Step 1
Once the head is removed, the first thing you want to do is take a scalpel and carefully remove as much skin and meat as possible. I usually cut along the sides of the jaw underneath in a V shape, then along the top of the skull and work my way down each side around the eyes, until all the skin is gone. Use a sharp scalpel, be gentle, and take your time. Try not to cut the bone as it'll dull the blade quickly and can leave marks.


Step 2
Carefully cut around the beak sheaths. Some beaks have an obvious end, some don't. Other than that leave them alone for now, but they'll get removed during the maceration process.
Cut out the eyeballs as well and keep them aside if you want to keep the sclerotic rings. If your scalpel's sharp enough you can cut a lot of the excess eyeball leaving just the front with the sclerotic bones.

Step 3
Put the skull and eyeballs in a small container or jar and fill it with water. To get the enzymes and bacteria started you can either spit in the water or throw in a little bit of mince meat. Using rain water instead of tap water also works. Close the container as the water will eventually go rancid and smell so I advise leaving it either outside or in a ventilated area. Small bird skulls won't cause too much of a stink until you actually open up the container.
This process can take a while depending on the size of the skull and how much meat is left on it. Generally 1-2 weeks for a smaller skull like this is how long it should take.

Step 4
To remove the beak sheaths, after leaving the skull in the maceration tub for a day or two, the keratin will have loosened and the sheaths will just slip off. At this point the smell won't be too bad yet, so you can just quickly pull the skull out to get them off. If they're not loose, put it back in and check the following day. They should literally just slip right off. If you're lucky, simply pick the skull up out of the maceration tub by holding the beak and the skull will just slide out. Otherwise wiggle them back and forth gently while pulling.
While the rest of the skull is macerating, put them somewhere dark and out of the sun. If you want to go one step further, you can store them in isopropyl alcohol. This will clean them further and lock in a lot more colour.


Step 5
After a week or two, the enzymes and bacteria in the water should have eaten away most of the remaining tissue on the skull. I recommend using a mask with a respirator as the smell is putrid. Some of the bones may have fallen apart at this point so fish out the skull and any bones or parts that may have fallen off during the maceration process (ie. quadrates, pterygoids, jugal bones...etc)
Some little stubborn bits of tissue might remain but they should mostly fall off while rinsing the skull under water, or can be removed with tweezers. Use a sieve, as little bones can easily fall out and go down the drain (Trust me…)
Before the next step, lay out all the bones on a tissue or tray and let them completely dry either in the sun or in front of a fan.

Step 6
Next up is degreasing and this is one of the most important parts. Put all the bones back into another container and fill it with a weak cloudy ammonia solution. I use cheap bottles from the supermarket. Clear dish soap and water also works, but for me the ammonia does a better and more consistent job. I usually leave the skull in the ammonia for a week or so, but it can require more time as a lot of birds can be quite greasy. If the ammonia goes yellow quickly, change it out as often as necessary.
If you don't do this part, the grease will remain in the bone and damage it in the long term. It'll also start to stink, and the skull will have a greasy feel to it whenever you pick it up. Once again, after this step, dry out the bones completely.

Step 7
If you want to leave the skull a more natural colour, you can start gluing all the pieces back together and putting the beak sheaths on. To put the sheaths on without causing any damage, you can wet them with warm water to soften them up. While wet, work them back onto the beak. They will harden in place as they dry, so you may need to eventually glue them down to prevent them from curling. If the quadratic bones have fallen out (which they almost always do if the skull's completely clean) glue them back in first. After doing a few you'll figure out the angle and positioning pretty quickly, but look up photos of other bird skulls to see how they're supposed to sit.

Step 8
This step is technically optional but highly recommended. If you want to whiten the skull, don't put the beak sheaths or sclerotic rings back on yet, but put the bones back into a container.
It's extremely important to stress that you should not use bleach for this part. It will cause the bone to go brittle and crumble. With time, it will eventually fall apart into dust. Instead, fill the container with hydrogen peroxide. I use around 5% but you can either water it down or use a stronger percentage if you want. I wouldn't go past about 10% or so though as that will damage the bone.
I leave the skull in overnight, and then see if it needs to be left in longer or not. Keep in mind that it'll dry whiter than it looks when it's wet. If you're using bottled hydrogen peroxide from a chemist, you can water it down to make it go further, just leave the skull in it for longer. Alternatively, you can use stronger peroxide which will clean it a lot faster, but can be harsher on the bone and is expensive if you're buying small bottles from chemists or hairdressers. I recommend buying it from spa or pool shops where it comes in 20-40% and can be watered down to last a long time.
Not only will this step whiten the skull, it'll fully disinfect and clean it as well.


Final
The final result should look something like this.
